
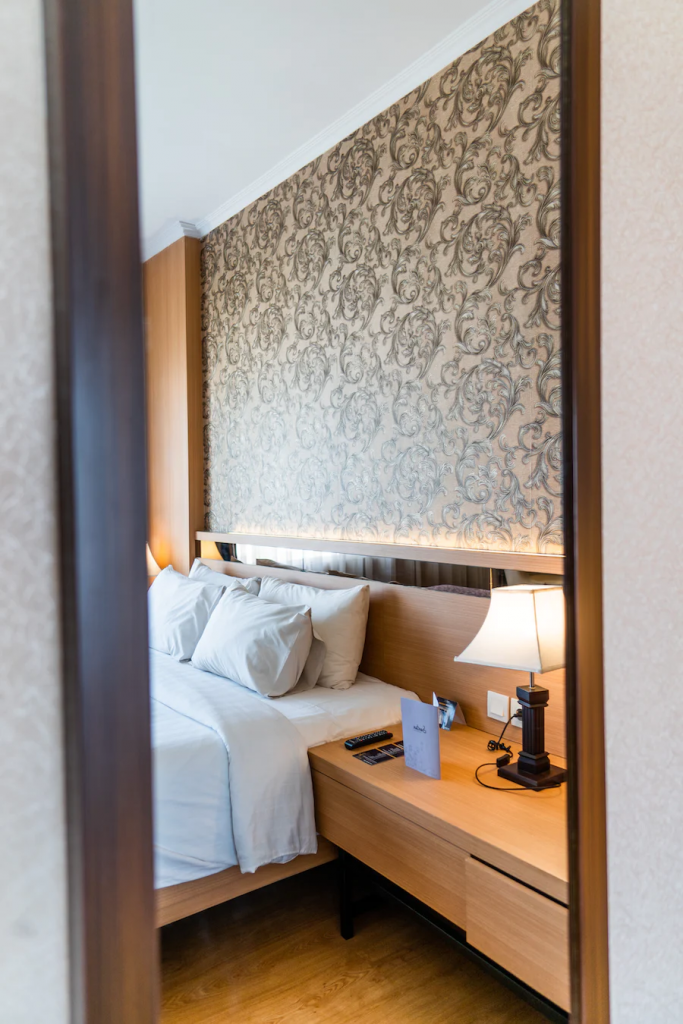
Redesigning a room in your home with some wallpaper can be a great way to add some life to your home. However, trying to to know how to trim and cut wallpaper can sometimes be tricky when you're trying to get it done right. That, along with nooks, tight corners, window frames, outlets, and other obstacles can make trimming wallpaper a bit tricky.
Here are a few things that you may need:
The first step in any DIY home project is to prepare the area. In this case, you have to prepare the wall surface by wiping down the walls with a sponge and bucket of warm water. You will want to wash the entire surface before you hang the paper. After the walls have dried thoroughly, sand away imperfections and fill in uneven areas with drywall paste using a large putty knife. Let dry for 24 hours, then sand away the excess paste and wipe away any remaining dust from the walls.
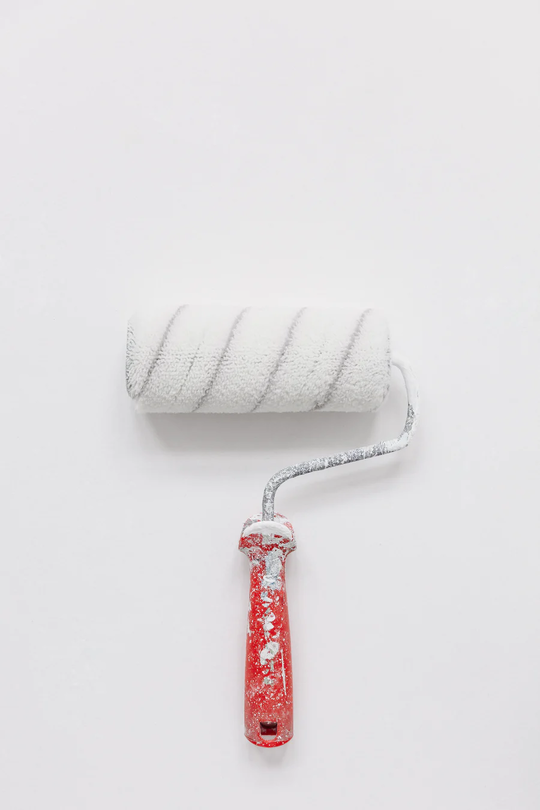
Next, you can apply primer with either a brush or roller to the walls to help the wallpaper stick. Be sure to let the primer dry for at least two hours before hanging the wallpaper. To prepare the unpasted wallpaper, use your measuring tape to measure the height of the wall you are going to paper. Read the manufacturer's instructions on the wallpaper label for the dimensions. As a rule of thumb, add about 5 cm to the top and bottom of the wall height so you can deal with potential differences in the height of the wall if necessary. Then, once you have your wall size, you can cut your wallpaper roll into strips with a razor knife or a taping knife.
The next step in the process is to hang the actual wallpaper. For the first strip, you will want to start with a plumb line. This pencil line is your guide to hanging the other panels of wallpaper. To make your plumb line, leave a pencil mark on the wall using a level. Then, you can hang the first panel of paper in the room, aligning one edge with the line. You should use multiple plumb lines throughout the room so that your paper job has a professional look.
Roll out the paper and then apply the paste to the paper with a paint roller. Don't dunk! Roll the adhesive on with the paper backing facing out and then be sure to wipe the wet wallpaper to remove any excess solution. Be sure to not let the water soak into the drywall or it may cause damage. Press the seam between pieces firmly with a seam roller, but be sure to not apply too much pressure. Use a damp sponge to clean any paste residue that squeezes out. Also be sure to use some sort of straight edge to get rid of any air bubbles in each strip, pressing firmly against the ceiling line.
When starting with an inside corner, allow some overlap with the paper on the adjacent wall in order to hang it plumb so that the paper pattern lines up. This is called a wrap and overlap seam where one drop is overlapped with the next drop on your room's inside corners. Cut a dry strip of the first length with an extra 1/8th inch and hang the freshly cut side of the paper into the corner. You can then align the next strip from the outside corners of the next wall so that it overlaps and the pattern on the paper matches up.
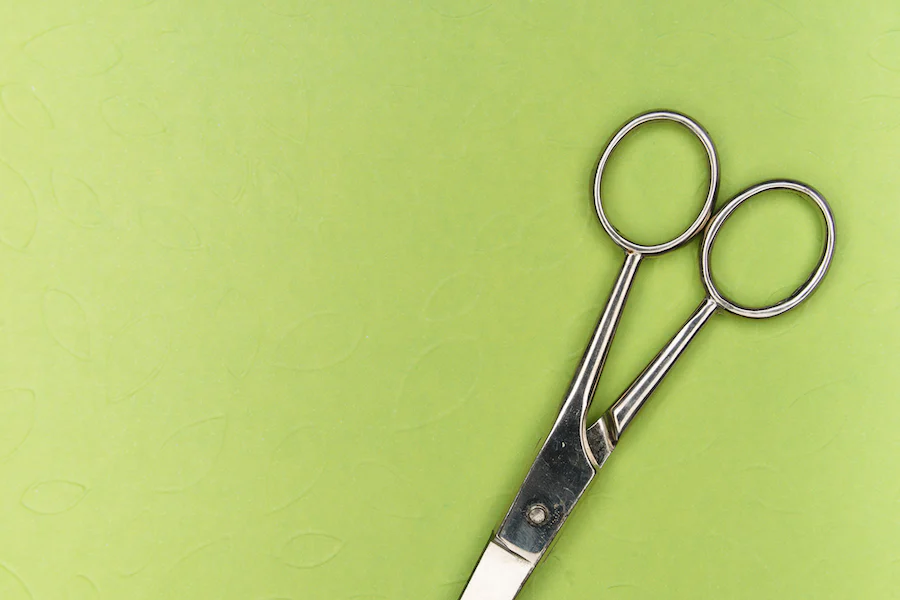
Once you are satisfied with the papering and you are certain it is safe to trim the wallpaper, you can begin to trim away the excess wallpaper with scissors. For strips that meet the trim edges or the ceiling, make a relief cut to get rid of most of the excess. Relief cuts can save you time as you hang the wallpaper before continuing with trimming away extra length and excess paper.
You can also use diagonal cuts to get clean lines around different edges like a window or outlet. For electrical outlets, find the outermost corner of the outlet cover with your finger, then make a diagonal cut straight across the wall socket from one corner to the other. Do the same on the other side to make a cross. Then you can peel back the four points and use a leading edge and blade to trim the paper around the socket. This same practice can be applied to a window frame and window trim. Once you're finished, let the wallpaper dry and then you are free to enjoy your newly papered interior walls!